Schedule 1 is a fun game with a growing modding community. If you want to change the way the game plays, add cool features, or even move faster in-game, mods can help. This guide will show you how to install mods for Schedule 1 using MelonLoader. It’s easier than you think, and I’ll walk you through it step by step.
Quick Navigation
Step 1: Install MelonLoader
First, we need MelonLoader. This tool lets the game load mods.
- Visit the official MelonLoader page or click the button below to be redirected

- Choose Windows or Linux based on your system. For this guide, we will be using Windows.
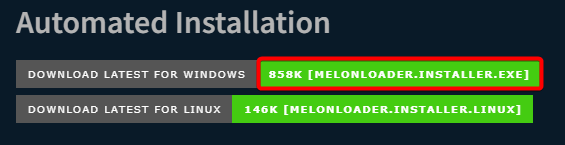
- Download the installer and open it. You might find the file in your Recent Downloads History.
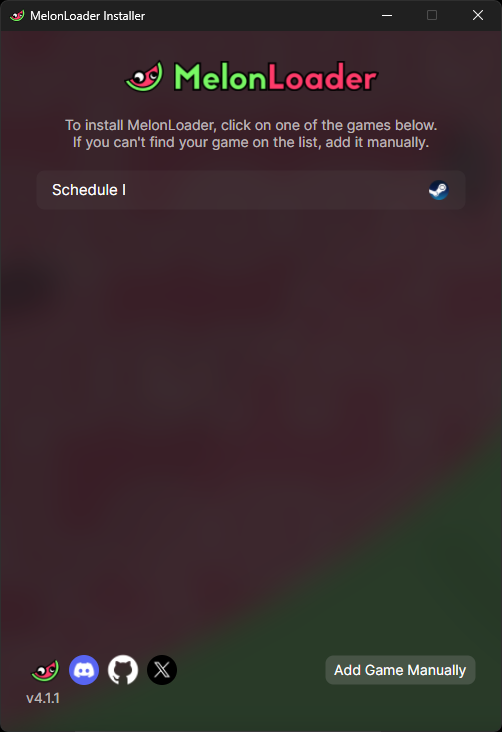
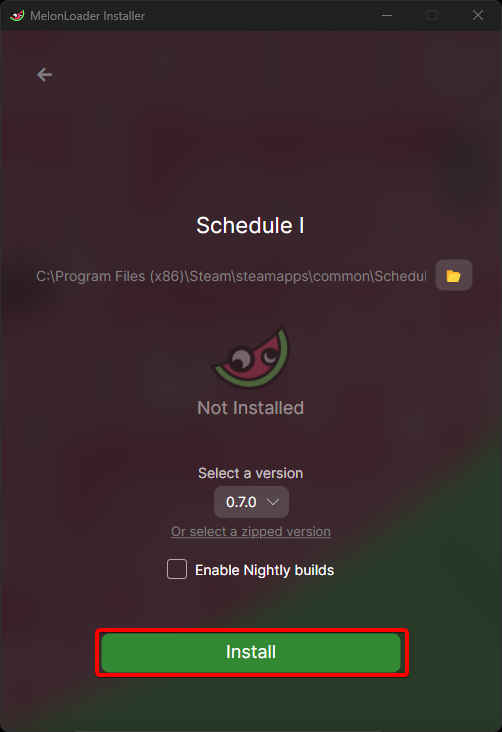
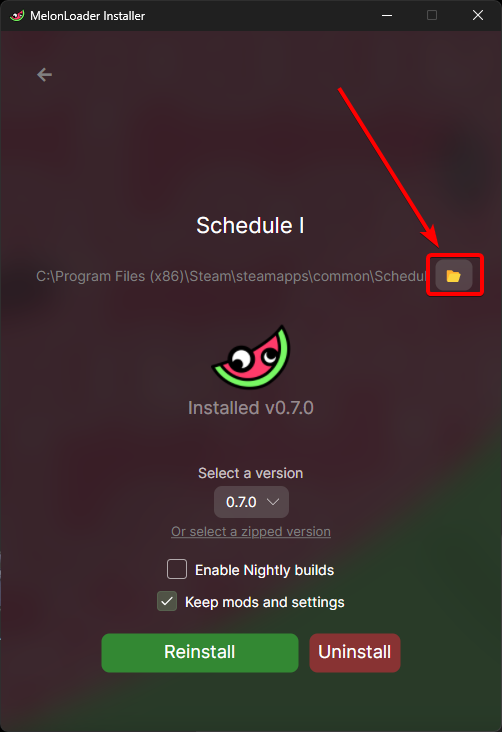
- Select Schedule 1 and press Install.
⚠️ Important: If Schedule 1 doesn’t appear, click to add the game manually.
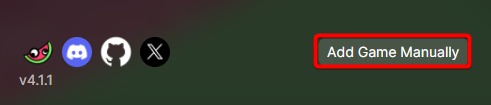
If MelonLoader doesn’t find your Schedule 1 game automatically, don’t worry. Just follow these steps to find the game folder on your PC.
Find the Game Folder (Optional)
You need to find your game’s installation folder to link MelonLoader.
- Open Steam and Right-click Schedule 1
- Click “Manage” and then “Browse Local Files”
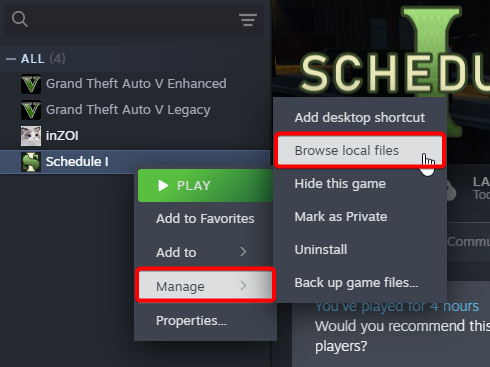
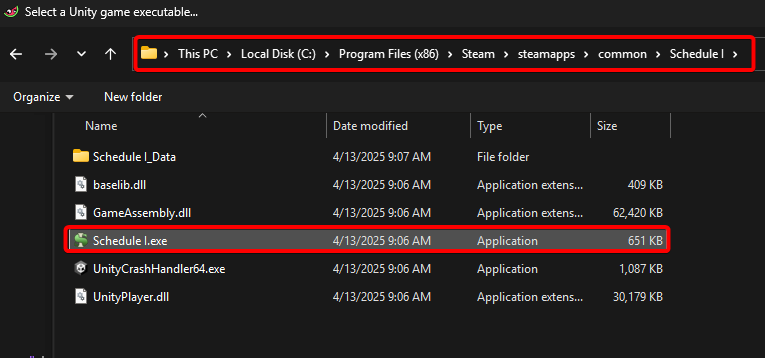
- Copy the file path and paste it into MelonLoader
Once everything looks good, press the install button. A green bar will load, and then it will confirm the install. You can now close the window.
Create a Mods Folder
After we install MelonLoader, we need a folder to store our mods.
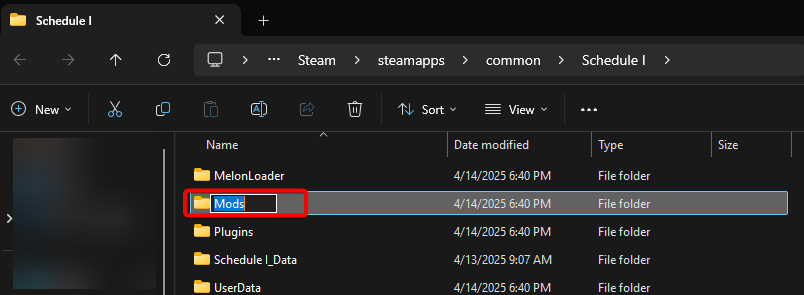
- Open the Schedule 1 Installation folder.
- Inside the Schedule 1 game folder, right-click and make a new folder. Name this folder mods so you can drop all your Schedule 1 mod files into it.
With MelonLoader installed and your game folder ready, it’s time to grab some mods and drop them in the right place.
Step 2: Download and Add Mods
We are ready to install Schedule 1 mods. Let’s download some.
- Visit Nexus Mods and search for “Schedule 1” or click the button below.

⚠️ Important: Make a free account to download mods.
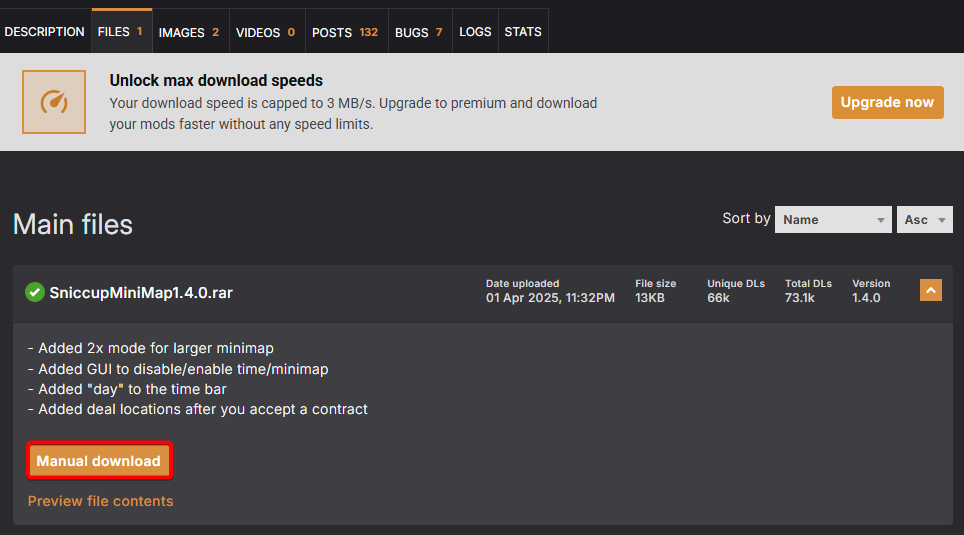
Always use a trusted site like Nexus Mods to find mods. We’ll use the Simple MiniMap mod as an example for this guide, always read the description before installing.
- Click on the mod you want to download, go to the “Files” tab, and choose “Manual Download”
- With the mod downloaded, unzip the file using WinRAR or 7-Zip, or even Windows built-in tool.
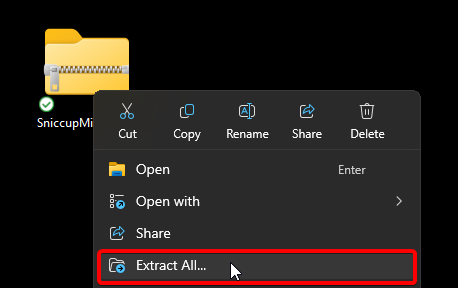
- Drag the DLL file into your mods folder. (The one we created earlier)
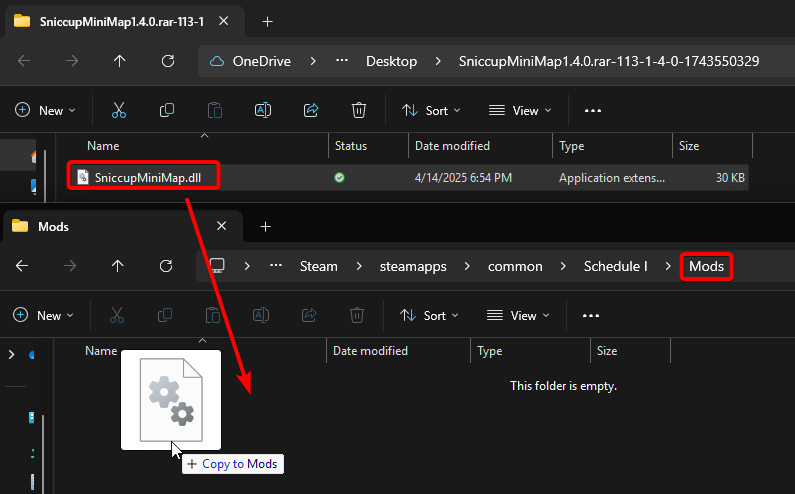
Do this for any other mods you want. Some mods may also need MelonLoader, but you already installed it—so you’re good!
Launch the Game with Mods
Let’s see your new mods in action.
- Open Steam and click Play on Schedule 1
- A small MelonLoader window will pop up—this is normal
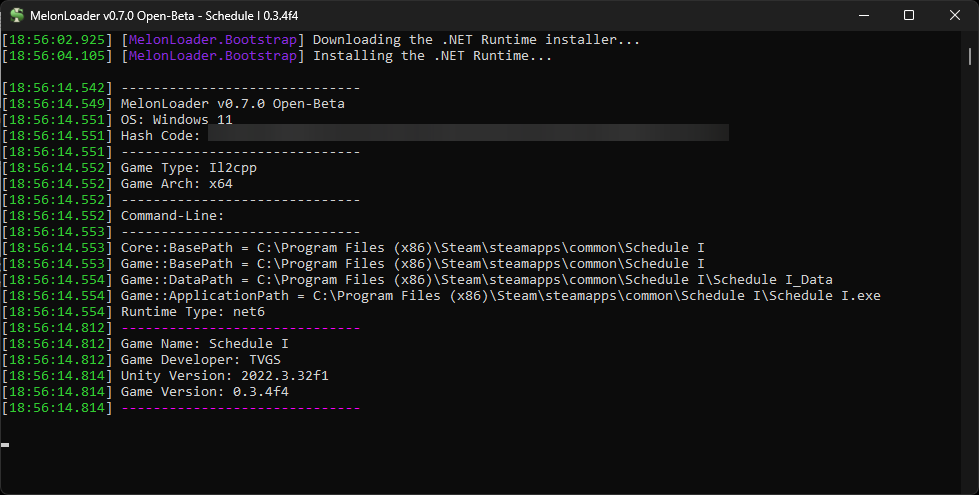
MelonLoader is injecting your mods into the game. Once the game starts, your mods should be working!
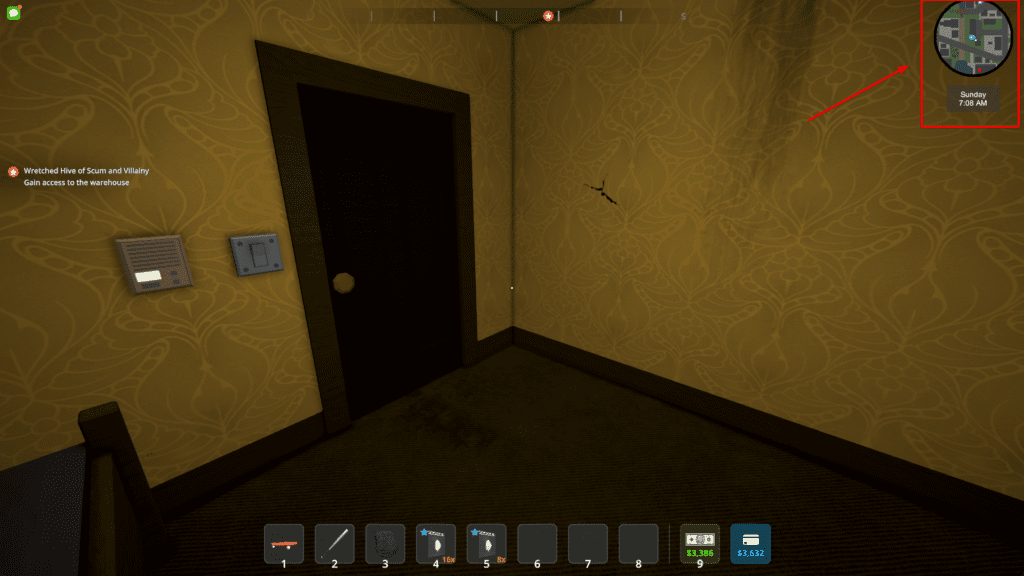
If you installed mods like movement speed or a mod menu, you’ll notice changes right away.
Edit Mod Settings (Optional)
Some mods let you tweak settings like speed or turn them on/off.
- After launching the game once, close it
- Go to the “UserData” folder inside Schedule 1
- Open the folder for your mod (like “SpeedBoost”)
- Find the config.json file
- Open it with Notepad
- You can change values like speed or toggle the mod on/off
Need to find your Schedule 1 saves folder? Check out our guide to help you locate it fast.
Remember to save the file before launching the game again. Never edit config files while the game is running.
If your mods aren’t showing up or something feels off, don’t worry—here are a few quick fixes for common issues with Schedule 1 mods.
Troubleshoot
MelonLoader doesn’t detect my game
Make sure you selected the right game folder. Use the “Browse Local Files” option in Steam to find it.
The mods aren’t working
Check if the DLL files are inside the “mods” folder. Also, make sure you’re using the correct game version.
The game crashes when I launch it
Try removing one mod at a time to find out which one is causing the issue. Some mods may not work well together.
Still have questions about installing mods in Schedule 1? Let’s go over some of the most common ones players ask.
FAQs
What is MelonLoader and why do I need it?
MelonLoader is a tool that lets Schedule 1 load mods. It’s required for most mods to work.
Are mods safe to use?
Yes, as long as you download them from trusted sites like Nexus Mods.
Can I use mods on the multiplayer mode?
Some mods might work, but others may be disabled or cause issues in multiplayer.