Installing mods in inZOI is a fun way to change how your game looks and works. You can improve the graphics, remove the blur when characters shower, skip intro videos, or even add new outfits and animations. This guide will show you exactly how to install inZOI mods step by step, using Nexus Mods and the inZOI Mod Enabler.
Quick Navigation
- Step 1: Get the inZOI Mod Enabler
- Step 2: Create the Mods Folder
- Step 3: Download and Install Mods
- Add 3d Printed Items
- Use the Mods Manager for inZOI (Optional)
- Troubleshoot
- FAQs
Step 1: Get the inZOI Mod Enabler
Before installing any mods, you’ll need to get the inZOI Mod Enabler. This tool allows the game to load custom content.
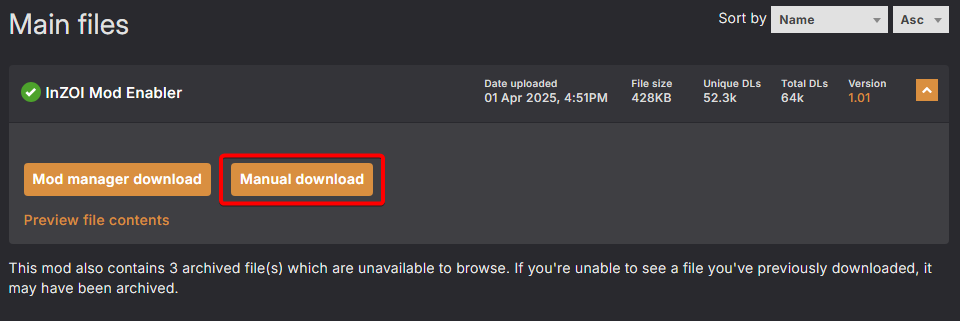
- Head over to the Nexus site and find inZOI Mod Enabler or click the button below

- Choose Manual download and then the Free option. (You will have to log in, but don’t worry, it’s free)
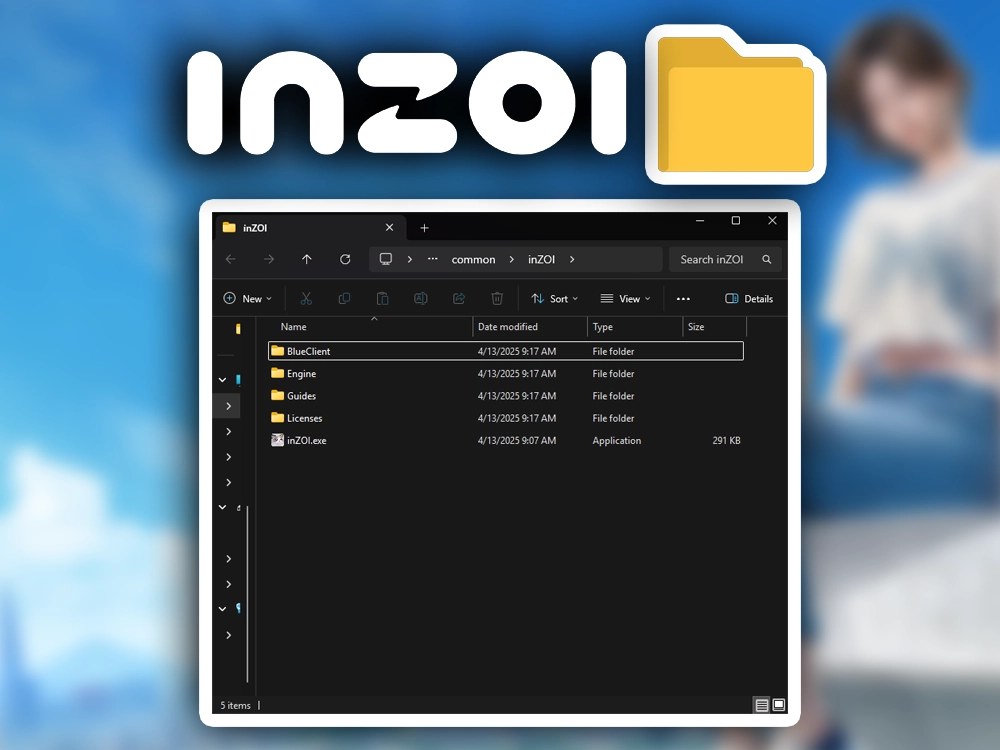
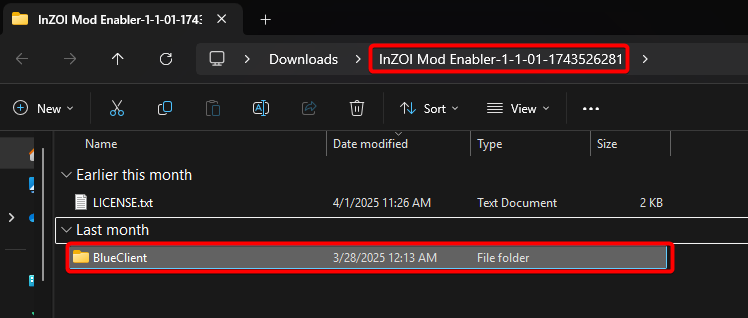
- Open the extracted folder, which will include another folder named BlueClient
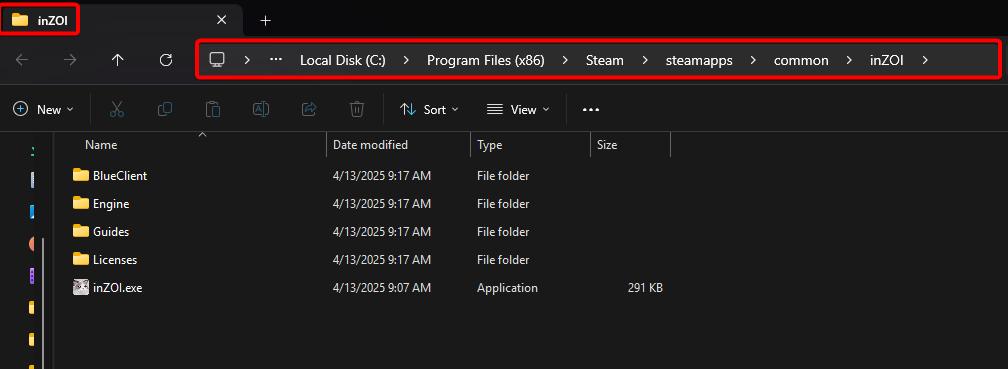
- Find your inZOI install folder by right-clicking the game in your Steam library, then choosing Manage → Browse local files. (You can also read this article to locate your installation folder)
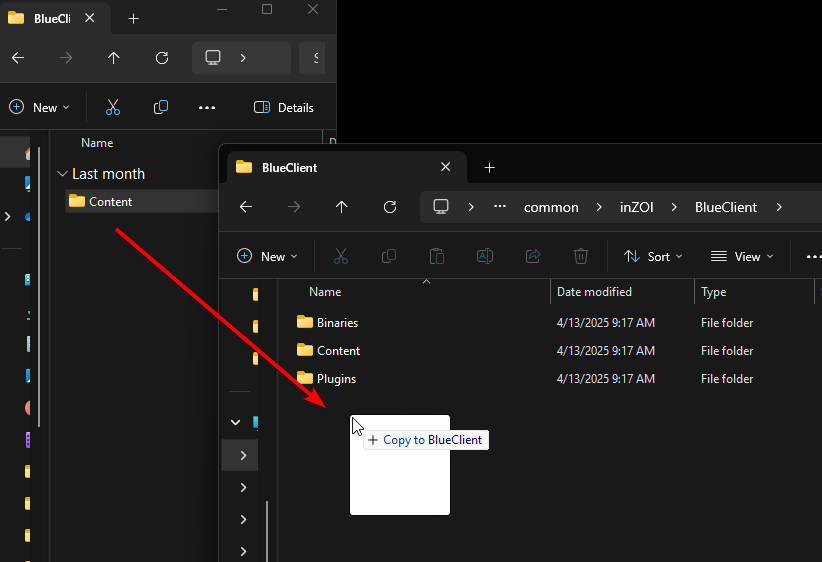
- Drop the blueclient folder from the extracted file into your main inZOI directory (this merges the folders)
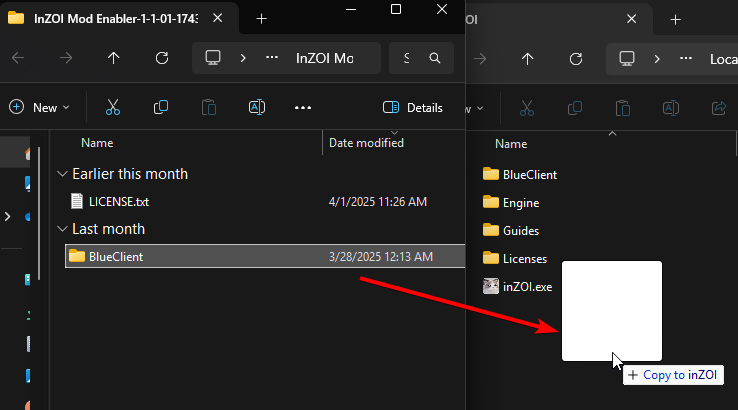
Once that’s done, your game is will now load mods when you open it. However, we still need to set up our mods folder.
Step 2: Create the Mods Folder
To install mods correctly, you need to create a special folder inside the game files.
- In your inZOI folder, open blueclient > content > paks
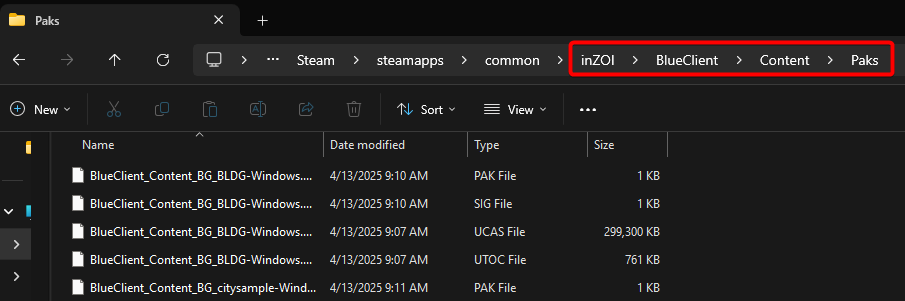
- Inside paks, create a new folder called mods~ (The game still detects the folder even if you don’t add ~, but some mods like Mod Manager might not work properly)
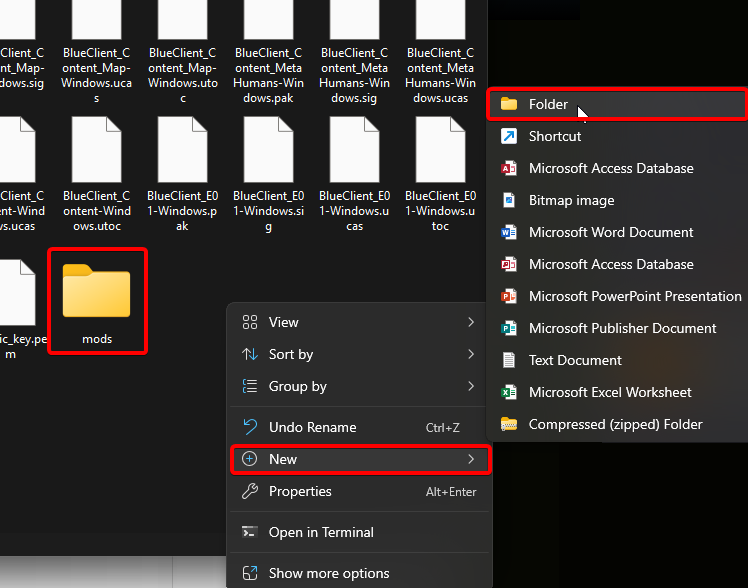
💡 Tip: Name the folder “mods~” for more compatibility, but “mods” should also work.
- This is where most mods will go (Some mods might go elsewhere)
You’ve now created the folder where the mods will be installed. Now let’s see how to download and install mods for inZOI.
Step 3: Download and Install Mods
Now that everything is set up, it’s time to grab your favorite mods and add them to the game.
- Go to Nexus Mods or click the button below.

- Then find an inZOI mod you like (for example, “Remove Shower Blur” or “Fast Launch”)

- Read the description of the mod for special instructions
- Then click Files>Manual Download>Slow Download.
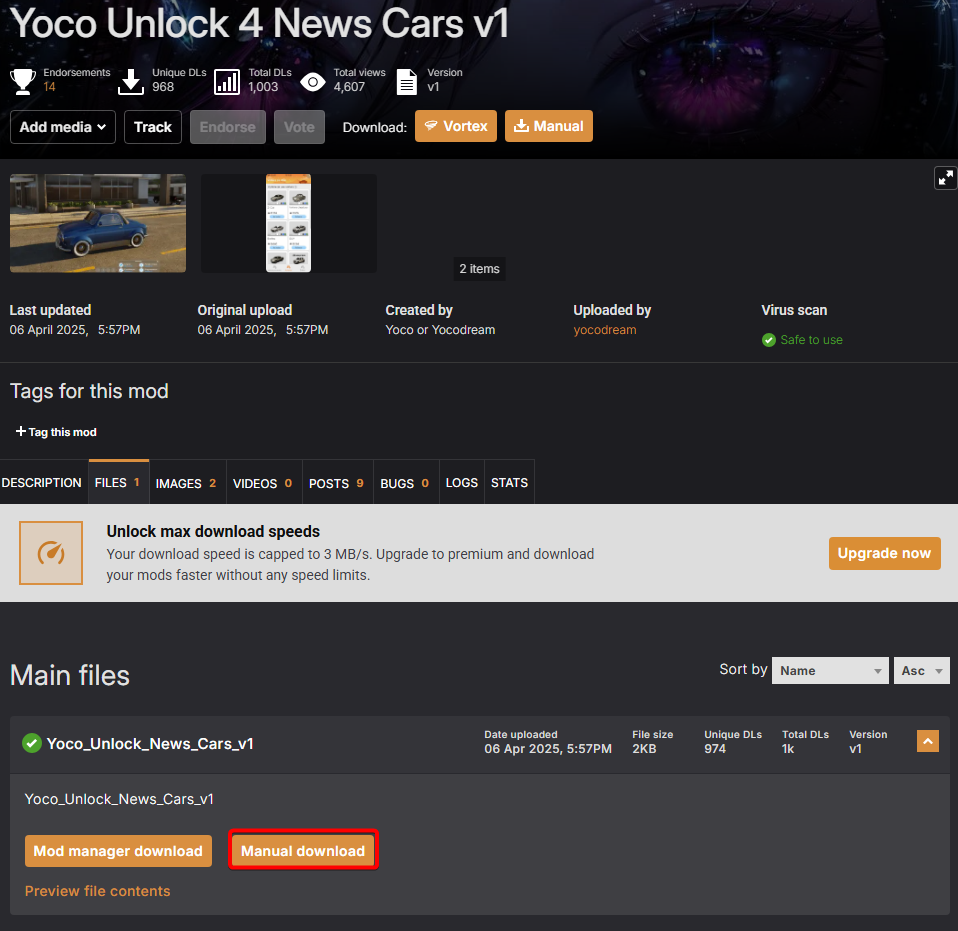
Note: For this example I’m going to download a vehicle pak mod, which adds 4 new working vehicles to the phone store.
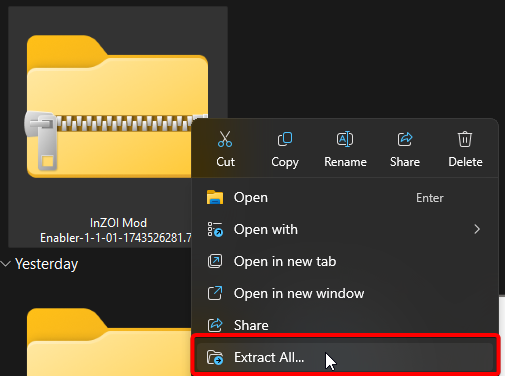
- Unzip the recently downloaded mod folder and look for a new BlueClient folder or .pak files
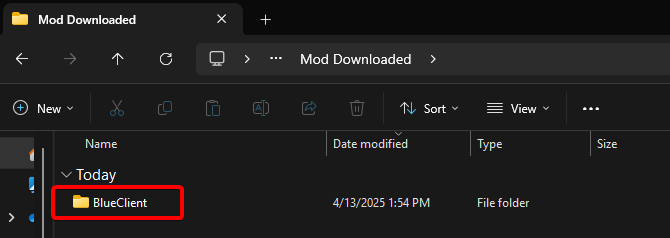
- If you see a blueclient folder, drop it directly into the inZOI main folder like before
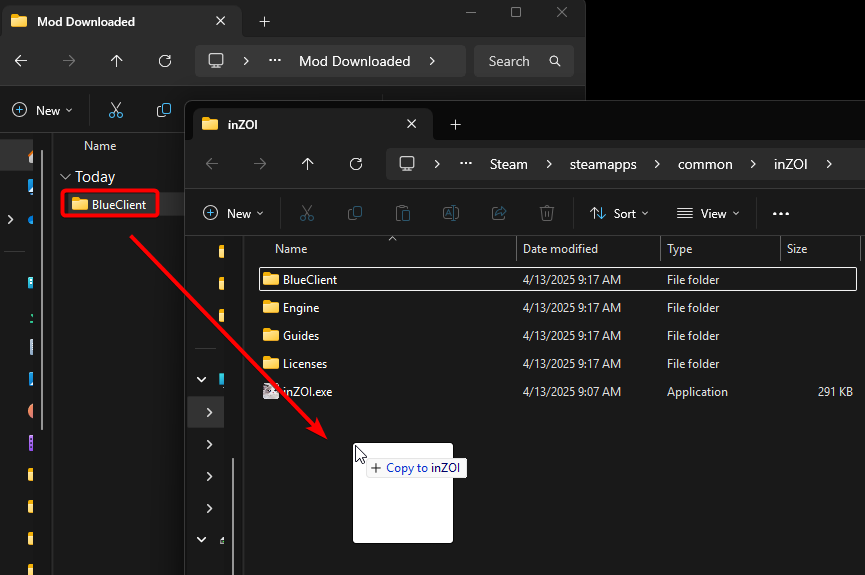
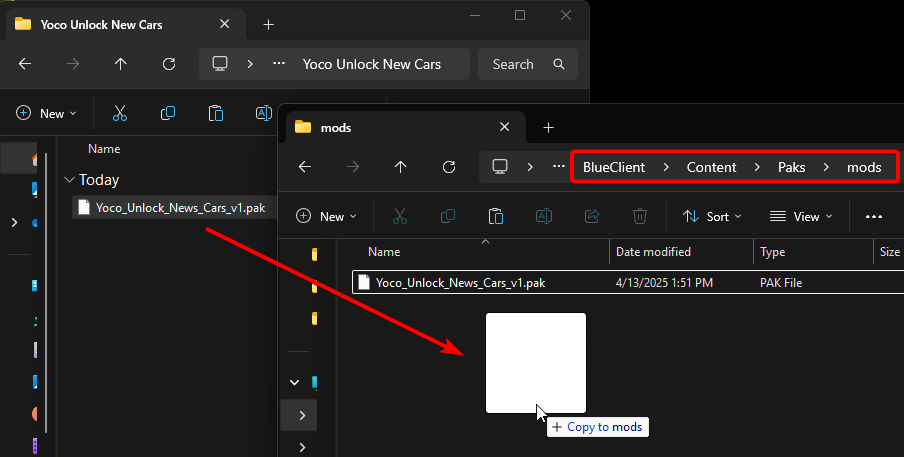
- If you see pak files, move them into blueclient > content > paks > mods~
- Some mods might come with other folders, like content > movies — place those in the matching location inside your game files and replace any existing files when asked.
⚠️ Important: Always read the mods description to know where to place it.
To check if a mod works, start the game and look for the changes.
Note
Sometimes, inZOI might crash once or twice after you add new mods. If it keeps crashing after several tries, remove the most recent files you added—they might be causing the problem.
Add 3D Printed Items
Some inZOI mods, like props, skins, furniture, and visuals, use a different install method. These are called 3D printed items, and the mod description will usually tell you if this method is required.
To install 3D printed items in inZOI:
- Save your game manually and click Open Save Folder when the popup appears
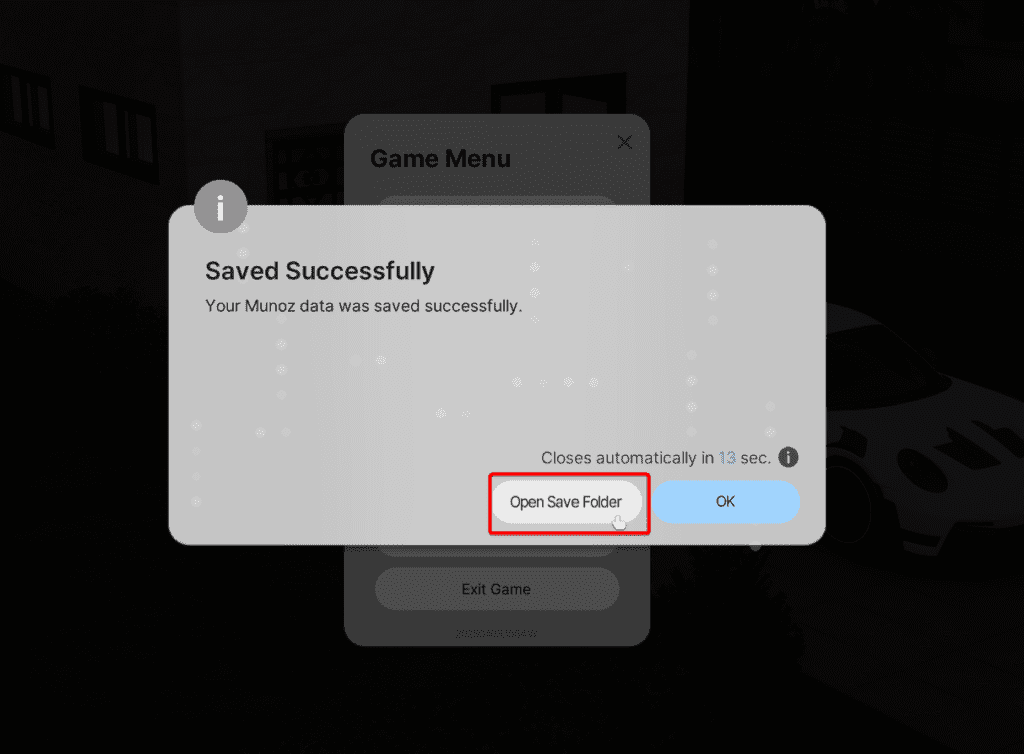
- This opens the SaveGames folder — go back one level to the main inZOI folder
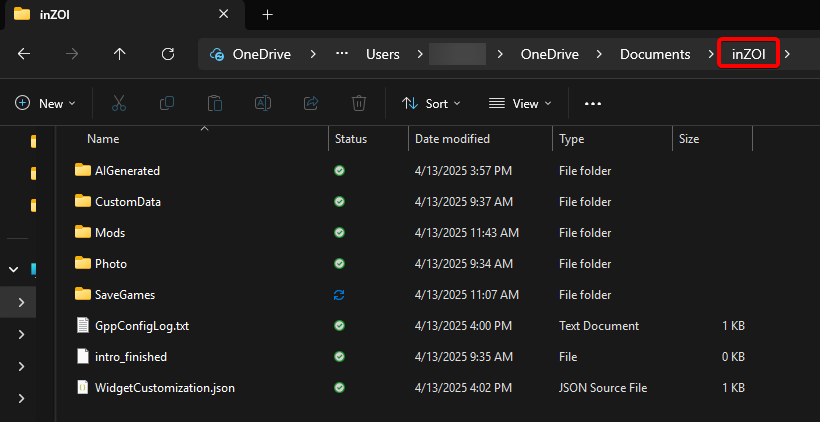
- Find the folder called AIGenerated, then open My3DPrinter (If those folders don’t exist, create them manually)
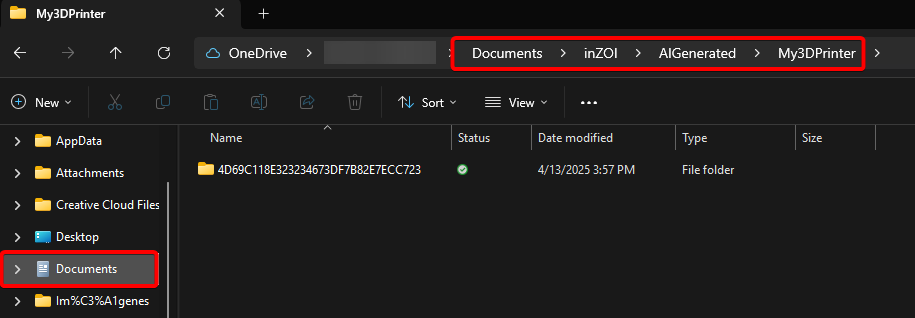
- Extract and drop the downloaded 3D printed mod folder into My3DPrinter
That’s all you need to add custom 3D printed content in inZOI. Now let’s look at how to manage your mods easily.
Use the Mods Manager for inZOI (Optional)
If you prefer an easier way to manage mods, you can use tools like the Pak Mod Manager. Works with simple .pak files. Just set the file path to your game folder, drag your paks into the app, and enable them.
Here is a quick guide to install the Mod Manager
- Download from Nexus Mods as done previously.
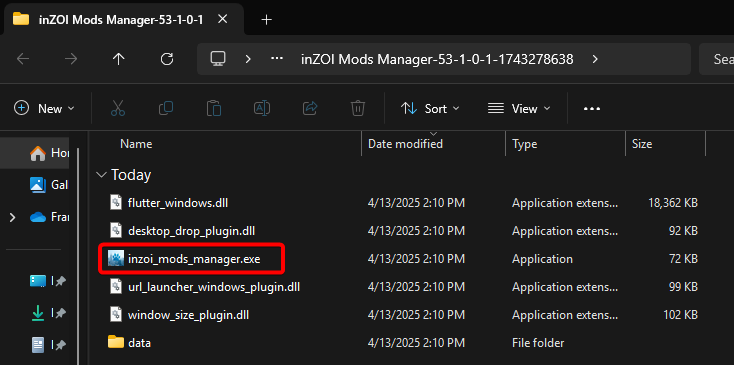
- Extract the folder and launch inzoi_mods_manager.exe
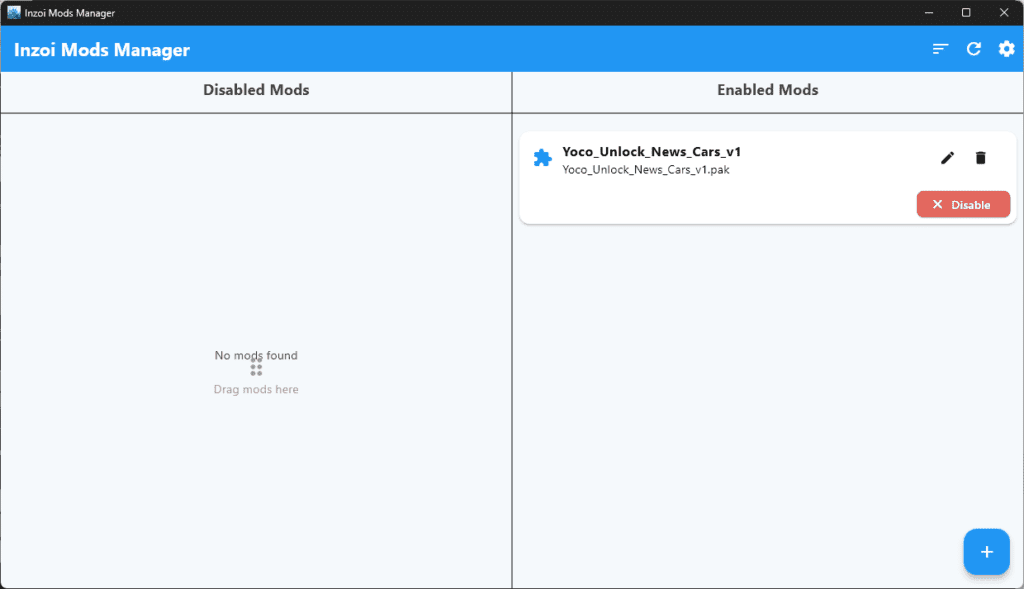
- Click Select Game Folder and locate the game directory as we have done previously. (You can always read: How to Locate the inZOI Game Folder on PC)
- Drag and drop your pak mods into the Mods Manager and easily disable or enable them from there.
These tools make it easier to enable or disable mods without touching folders manually.
Troubleshoot
My mods aren’t showing up in the game
Make sure you placed them in the correct folder: blueclient > content > paks > mods~. Also, check that you installed the mod enabler first.
The game crashed after installing a mod
Try multiple times to open inZOI. If it still doesn’t work, remove the last mod you installed and test again. Some mods are still experimental and may not work well together.
I don’t see a difference after installing the mod
Double-check the instructions on the mod’s page. Some require extra steps or only work in certain parts of the game.
FAQs
Do I need the mod enabler for every mod?
Yes, most inZOI community mods require the mod enabler. It tells the game to load custom files from the mods folder.
Where do I find the inZOI folder on my computer?
Right-click the game on Steam, select Manage, then click Browse local files. That takes you directly to the install folder.
Can I use multiple mods at the same time?
Yes! As long as they don’t overwrite the same files, you can install many mods and they’ll work together.